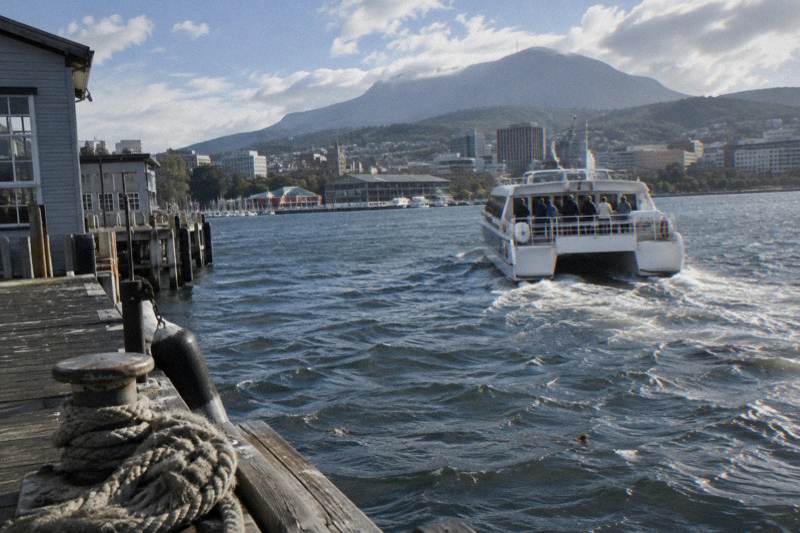
Ferry Or Car To MONA: Choosing The Boat Cruise From Hobart
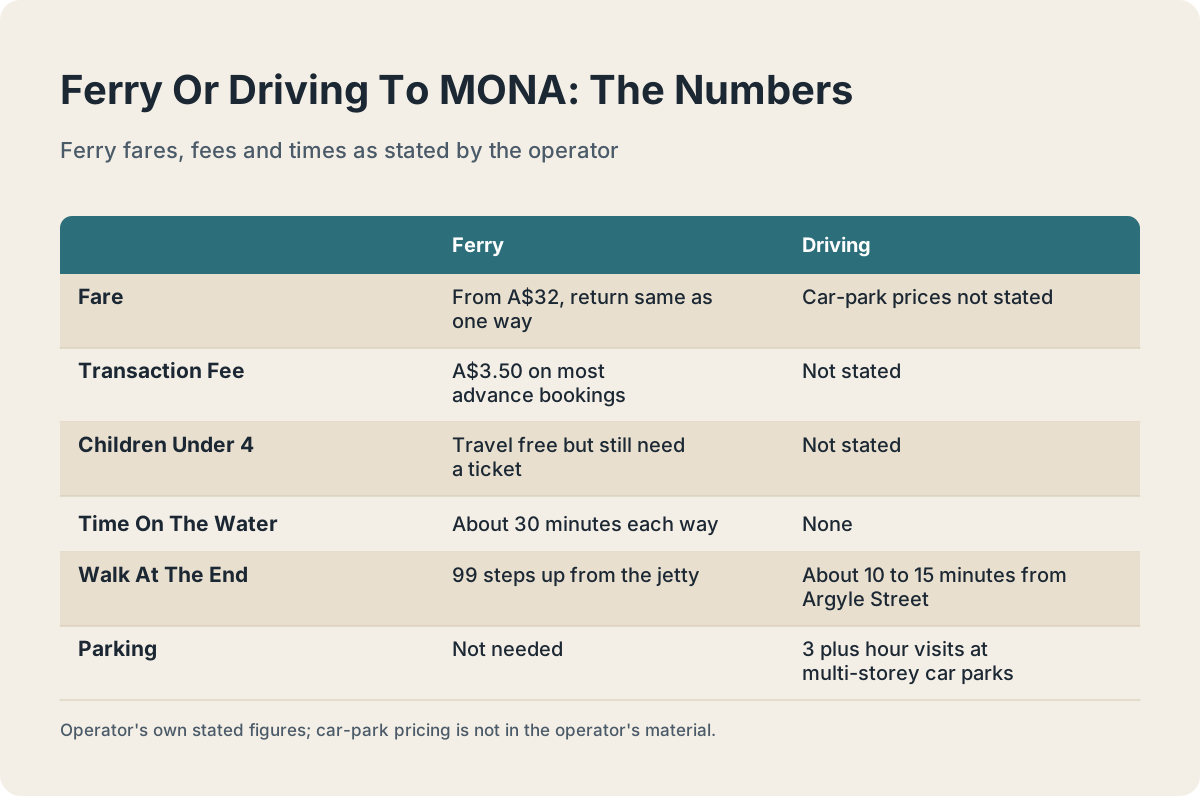
The ferry costs from A$32, takes about 30 minutes each way, and leaves from Brooke Street Pier. Driving means a multi-storey car park and a walk. Here is how the two options actually compare.
Short answer
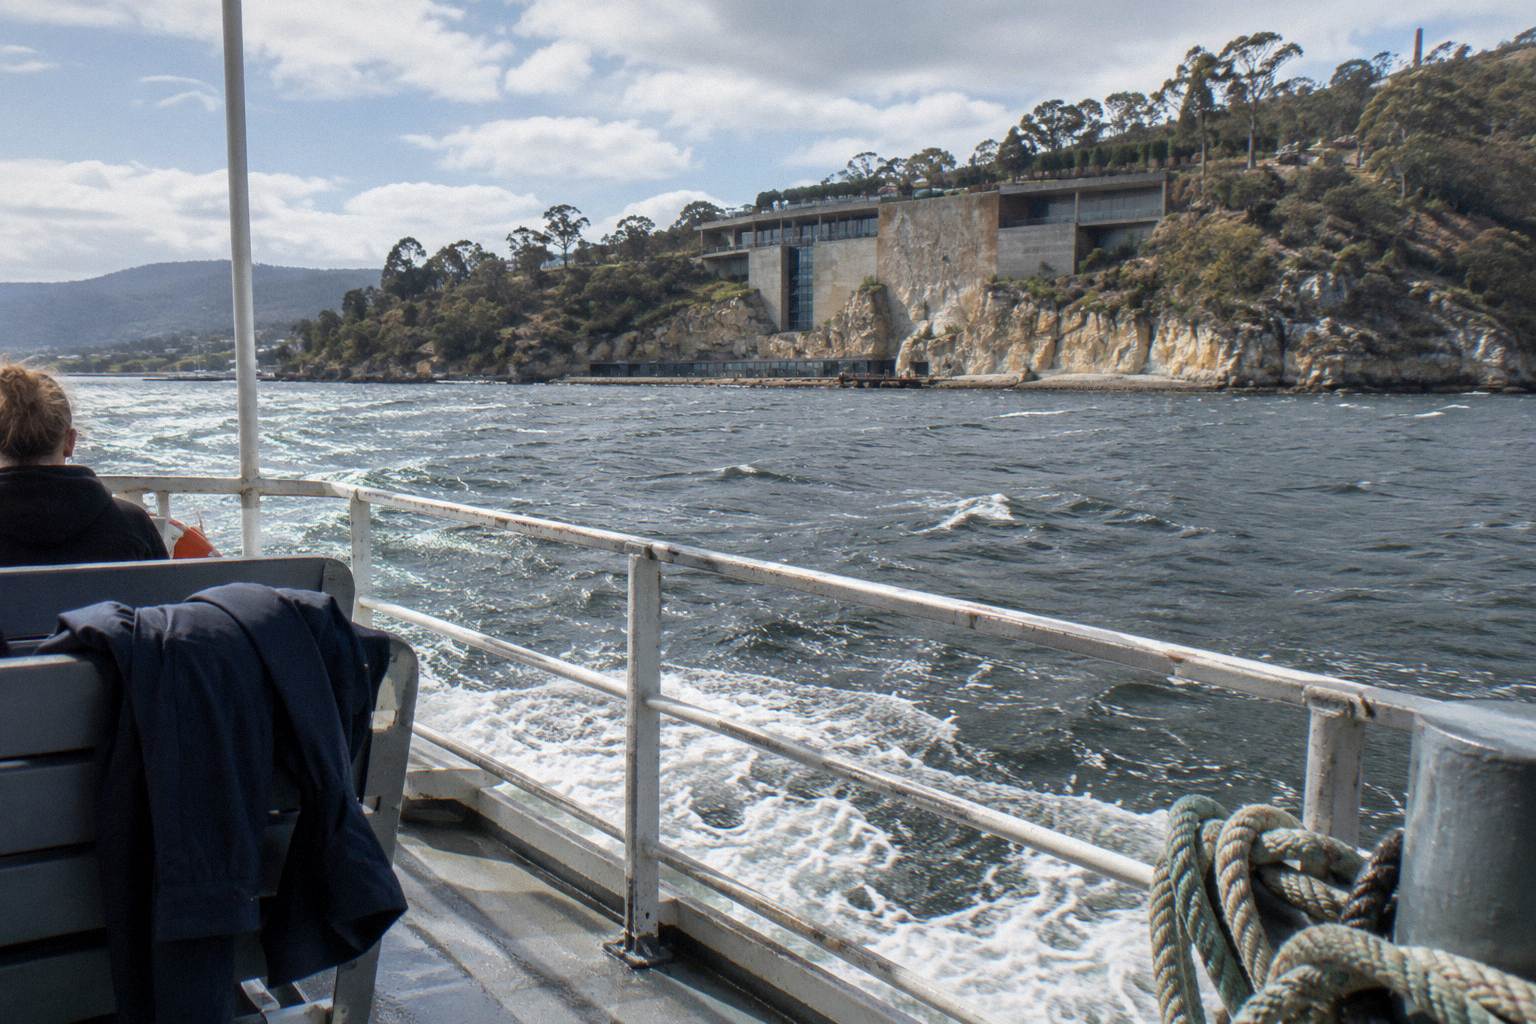
The MONA ferry departs Brooke Street Pier, costs from A$32 with the return fare the same as one way, and takes about 30 minutes each way. Driving puts you in a multi-storey car park such as Argyle Street or Market Place, roughly a 10 to 15 minute walk from the museum entrance. Museum entry is a separate ticket either way.
Getting to MONA is one of the few museum trips in Australia where the transport is half the attraction. The museum sits on a Berriedale peninsula of the Derwent, and the ferry from Hobart's waterfront crosses the river to reach it, while the road route threads north through the city's suburbs. Both work. They cost different amounts, start from different points on the waterfront, and suit different kinds of day.
One scope note before the comparison, because it matters for how you use this page. The MONA ferry is a museum ferry run by the museum itself, from mona.net.au. It is not one of the sightseeing cruises this site covers, and this site's bookable cruises are the Derwent and harbour cruises that depart from the same piers. This guide compares the ferry with driving, then points to the cruises that turn a museum day into a proper day on the water.
What The Ferry To MONA Costs And How Long It Takes
The MONA ferry departs Brooke Street Pier and costs from A$32, with the return fare priced the same as a one-way ticket. The crossing takes about 30 minutes each way. There are no concessions, children under 4 travel free but still need a ticket, and a A$3.50 transaction fee applies to most advance bookings. Museum entry is a separate ticket even with a ferry ticket.
Those are the operator's own stated figures. The from A$32 fare structure is unusual in one helpful way: because the return fare is the same as one way, a return ticket buys you the round trip at the same price as a single crossing. Families should note the under-4 rule, which catches people out. A toddler who travels free still needs a ticket booked for them, so add the child to the booking rather than assuming infants are simply carried on.
The transaction fee is small but real. Most advance bookings attract the A$3.50 fee, so the final checkout price on the ferry booking will sit slightly above the headline fare. Budget for it rather than being surprised by it at the payment screen.
What this page cannot tell you is the timetable. The ferry's departure times are loaded dynamically on the museum's own site, and the operator notes that a different timetable applies from 3 December, which is worth knowing if your trip straddles a season change. Print no departure time from here: check the museum's site for the sailing that fits your day, then plan the rest of the waterfront around it.
The ferry also has an upgraded option called the Posh Pit, a private lounge, bar and deck with complimentary drinks and small food. Its price is not stated publicly in the material available here, so treat it as an ask-at-booking question rather than a figure to budget against.
Ferry Or Driving: Weighing The Two Ways To Reach MONA
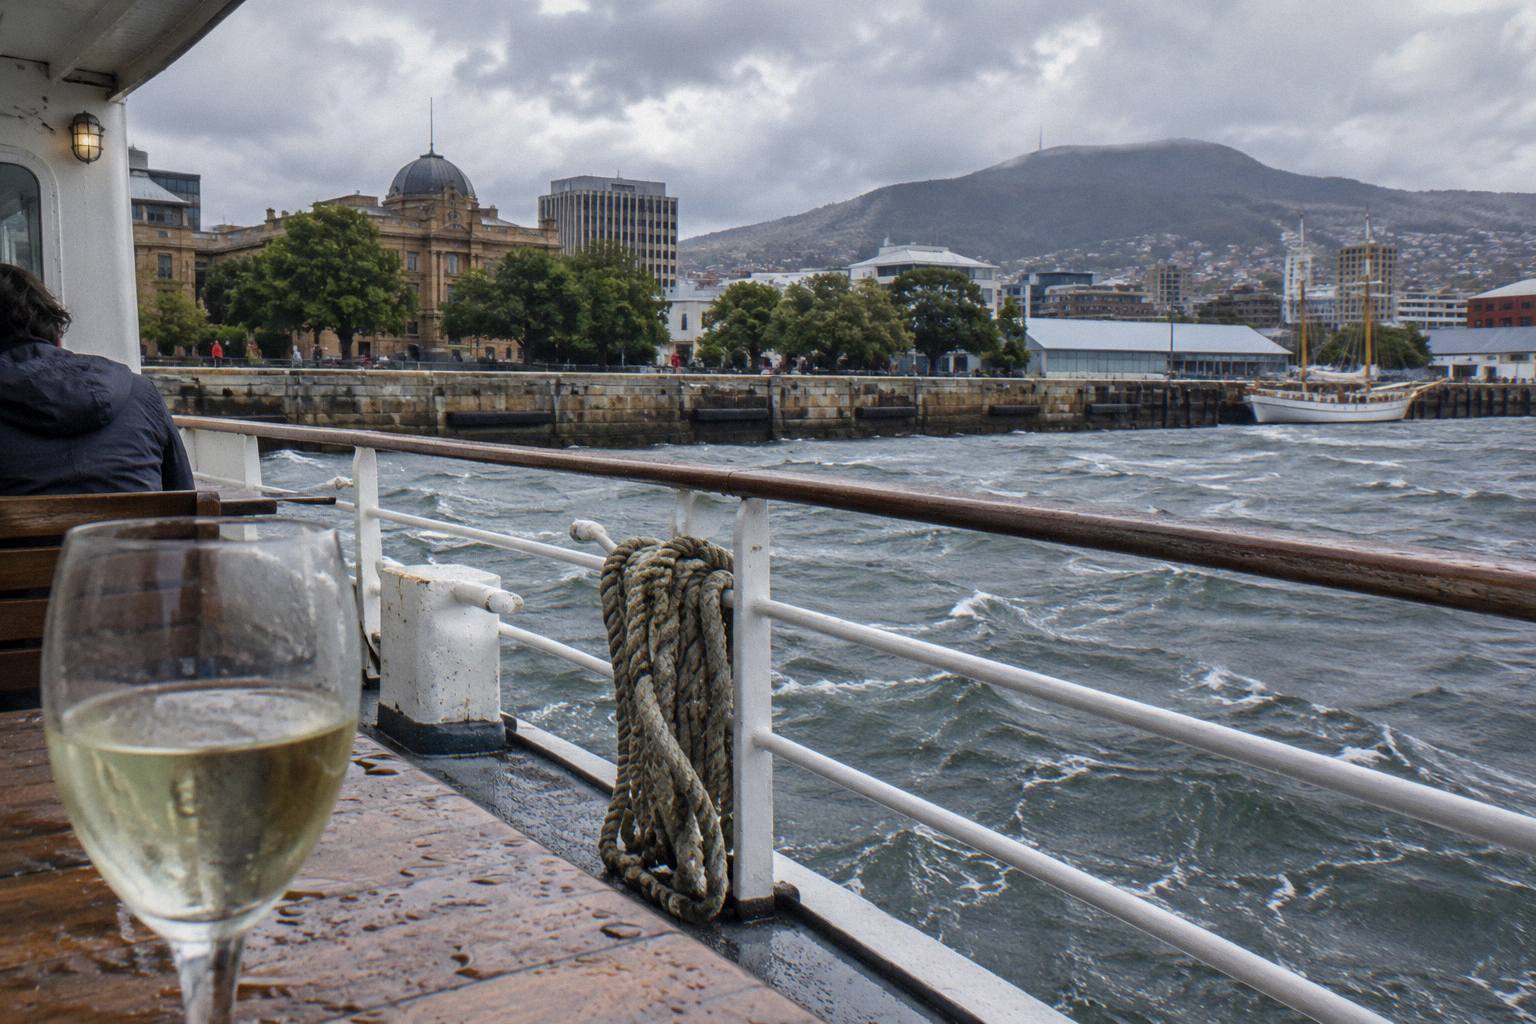
Take the ferry if the crossing itself matters to you, if you are already on the waterfront, or if you want to skip parking entirely. Drive if you are coming from outside the city centre, have mobility needs the ferry's arrival does not suit, or want the flexibility to leave on your own schedule. The ferry costs from A$32; car-park pricing is not stated anywhere in the operator's material.
The comparison comes down to what each option gives you beyond transport. The ferry gives you roughly 30 minutes on the Derwent each way, arriving by water at a museum designed to be approached that way. The car gives you door-to-door control, at the cost of finding a space and, on busy days, the walk from the multi-storey car parks.
| Factor | Ferry | Driving |
|---|---|---|
| Departure point | Brooke Street Pier, 12 Franklin Wharf | Multi-storey car parks listed by MONA |
| Cost | From A$32, return same as one way; A$3.50 transaction fee on most advance bookings | Car-park prices not stated |
| Time on the water | About 30 minutes each way | None |
| Parking | Not needed | Argyle Street, Centrepoint, Market Place, Dunn Place (3 plus hours) |
| Walk at the end | 99 steps up from the jetty, or an accessible tunnel entrance | About 10 to 15 minutes from Argyle Street or Market Place |
| Schedule control | Fixed sailings, timetable loaded dynamically | Your own timing |
The honest answer for most visitors staying central is that the ferry wins on experience and roughly breaks even on convenience. Sullivans Cove, where Brooke Street Pier sits, is where most of Hobart's waterfront life happens anyway: the same pier complex that sends the MONA ferry across the river is where the Derwent cruises board. A visitor combining a museum trip with a cruise day barely has to move between the two.
Driving earns its place in three situations. If your party includes someone for whom 99 steps at the far end is a problem and the tunnel entrance sounds unappealing, the car parks avoid the jetty arrival entirely. If you are arriving from outside Hobart, perhaps after a Tasman Peninsula morning, driving straight to a Berriedale car park beats backtracking into the city to catch a boat. And if you want to leave MONA the moment you have had enough, a car does not check a timetable first.
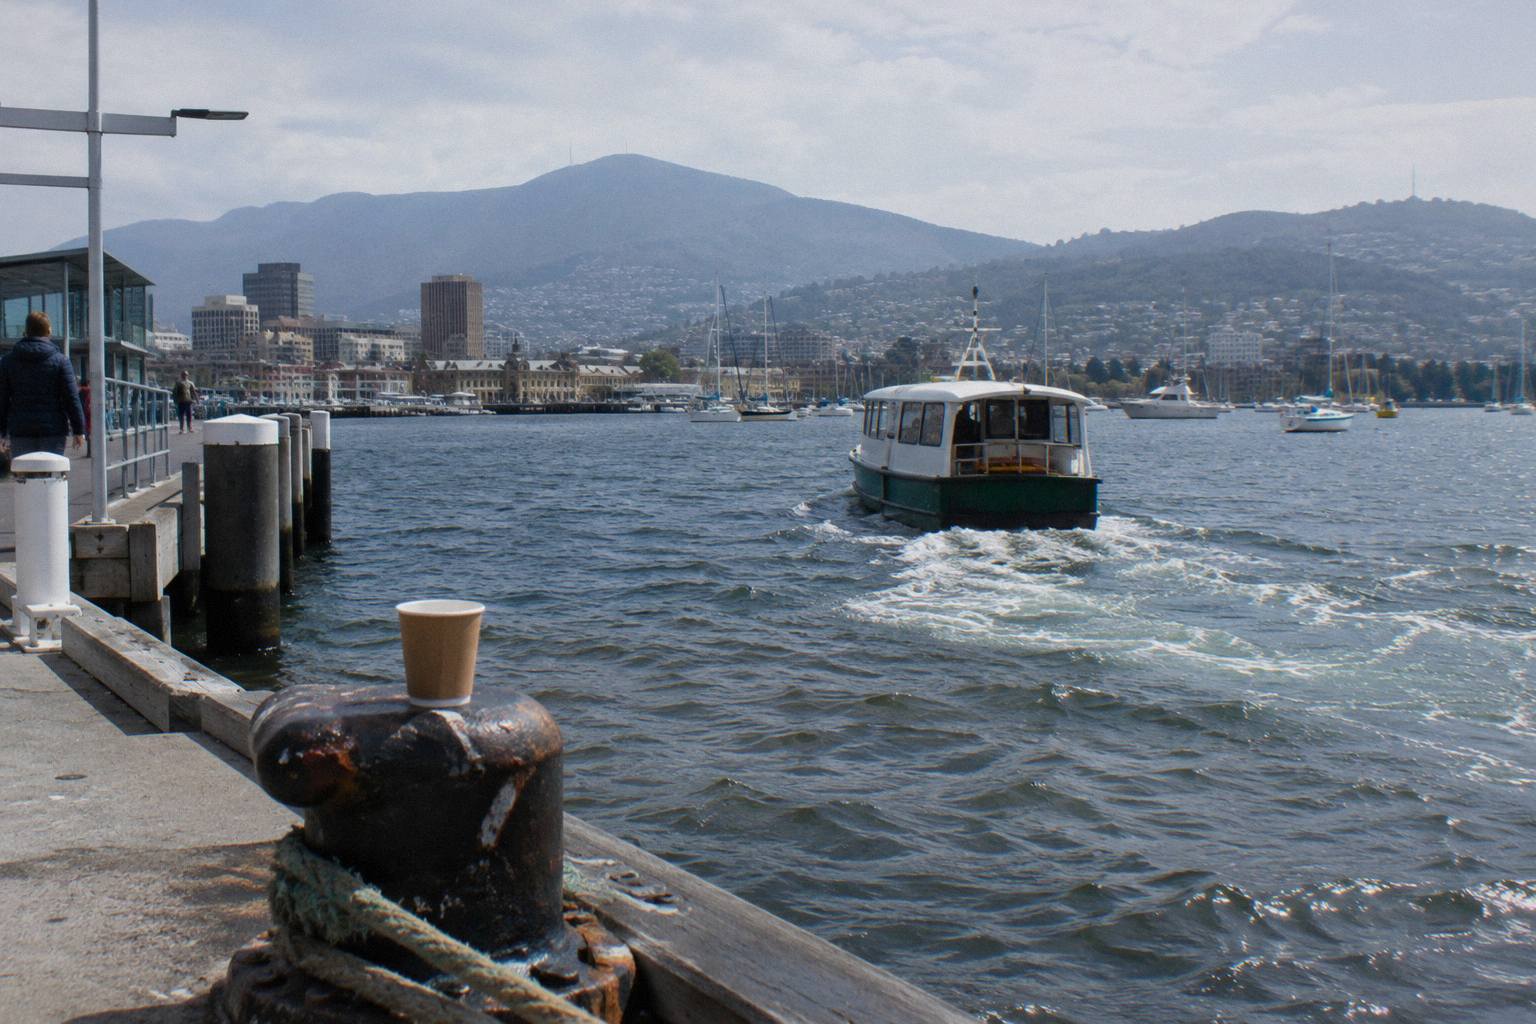
There is also a middle path worth naming: the ferry one way and nothing else. Because return costs the same as one way, some travellers take the ferry out, spend the day at the museum, and arrange their own way back. The operator does not state any return transport arrangement beyond the ferry itself, so this only works if you are comfortable solving the return leg separately.
Where The Ferry Leaves From And Where To Park The Car
The ferry leaves from Brooke Street Pier, 12 Franklin Wharf, on Sullivans Cove, with drop-off directly in front of the pier. Drivers should use one of MONA's listed multi-storey car parks: Argyle Street, Centrepoint, Market Place or Dunn Place for visits of 3 plus hours, with accessible parking along Franklin Wharf, Salamanca Place and Castray Esplanade.
Brooke Street Pier is the single busiest departure point on this stretch of waterfront, and it is worth arriving with time to spare. Three different products board there: the MONA ferry, the River Derwent Guided Cruise On A Catamaran, and the Peppermint Bay Lunch Cruise. The catamaran cruise asks passengers to be at boarding level, gate one, 15 minutes before departure, which is a sensible benchmark for the ferry too even though the museum does not state a boarding window. If you are pairing a cruise with a museum trip on the same day, the shared pier makes the logistics painless.
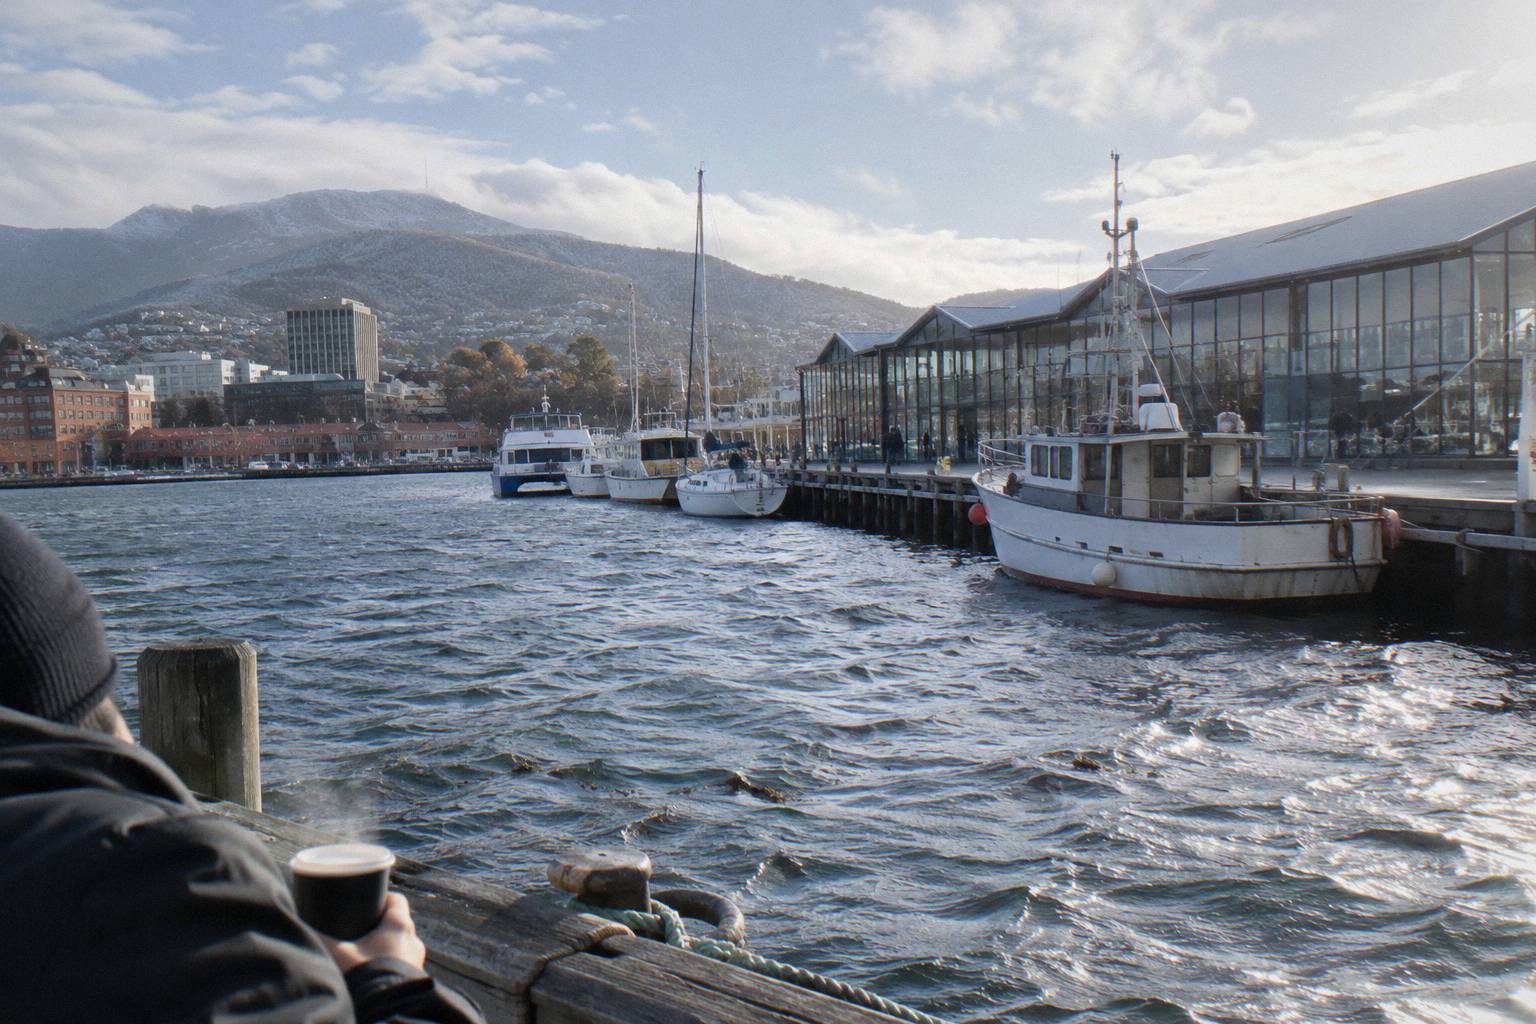
For drivers, the museum's own parking guide is specific about which car parks serve a long visit. The multi-storey options at Argyle Street, Centrepoint, Market Place and Dunn Place are listed for stays of 3 plus hours, and Argyle Street and Market Place sit about a 10 to 15 minute walk from the museum. That walk is the hidden cost of driving: you trade the ferry's 30 minutes on the water for a quarter of an hour on foot at each end, in whatever weather the day serves up.
| Parking option | Where | Suited to | Notes |
|---|---|---|---|
| Argyle Street multi-storey | City centre | 3 plus hour visits | About 10 to 15 minute walk |
| Market Place multi-storey | City centre | 3 plus hour visits | About 10 to 15 minute walk |
| Centrepoint multi-storey | City centre | 3 plus hour visits | Listed by MONA |
| Dunn Place multi-storey | City centre | 3 plus hour visits | Listed by MONA |
| Accessible street parking | Franklin Wharf, Salamanca Place, Castray Esplanade | Mobility permit holders | Listed by MONA |
What is not stated anywhere in the verified material: car-park prices, taxi fares, bus routes, and any walking time between the various piers. Do not build an itinerary around a parking figure found elsewhere; prices for central Hobart car parks change and the museum's guide does not publish them. Budget roughly and check the machine.
One more pier detail for cruise pairings: if your museum day includes the Iron Pot lighthouse cruise, that product departs from a different address, the Dock Head Building on Franklin Wharf next to the Constitution Dock lifting bridge, with no parking at the booking centre itself. Argyle Street Car Park and Market Place Car Park are the operator's named nearby options. It is a short stretch of waterfront, but four different departure points serve the cruises and ferry covered on this site, so always check which pier your ticket names.
What The Ferry Crossing Is Actually Like
The crossing is a genuine river trip: about 30 minutes on the Derwent each way, leaving the city skyline behind and arriving at the museum's own jetty. The standard ferry has a lower deck accessible for mobility aids and prams, with a bar and an accessible toilet. The Posh Pit upgrade adds a private lounge, bar and deck with complimentary drinks and small food.
This is the part of the comparison that numbers do not capture. A car trip to MONA is a drive; the ferry is a crossing of the same river the sightseeing cruises run on, with the city receding behind you and Mount Wellington, as the cruise operators put it, towering over the town. You are on the Derwent either way. The ferry simply makes the river part of the visit rather than an obstacle between you and it. More of these guides are collected on Hobart River Cruises.
The Posh Pit deserves a plain-English description, because the name does not explain itself. It is a private lounge, bar and deck aboard the ferry, with complimentary drinks and small food included. Its price is not published in the material available here, so ask when booking if the idea appeals. Two honest cautions come from the operator itself: the ferry cannot cater for coeliac or severe allergies, and it wants 24 hours notice for dietary needs. If your Posh Pit plan rests on food, make that call a day ahead.
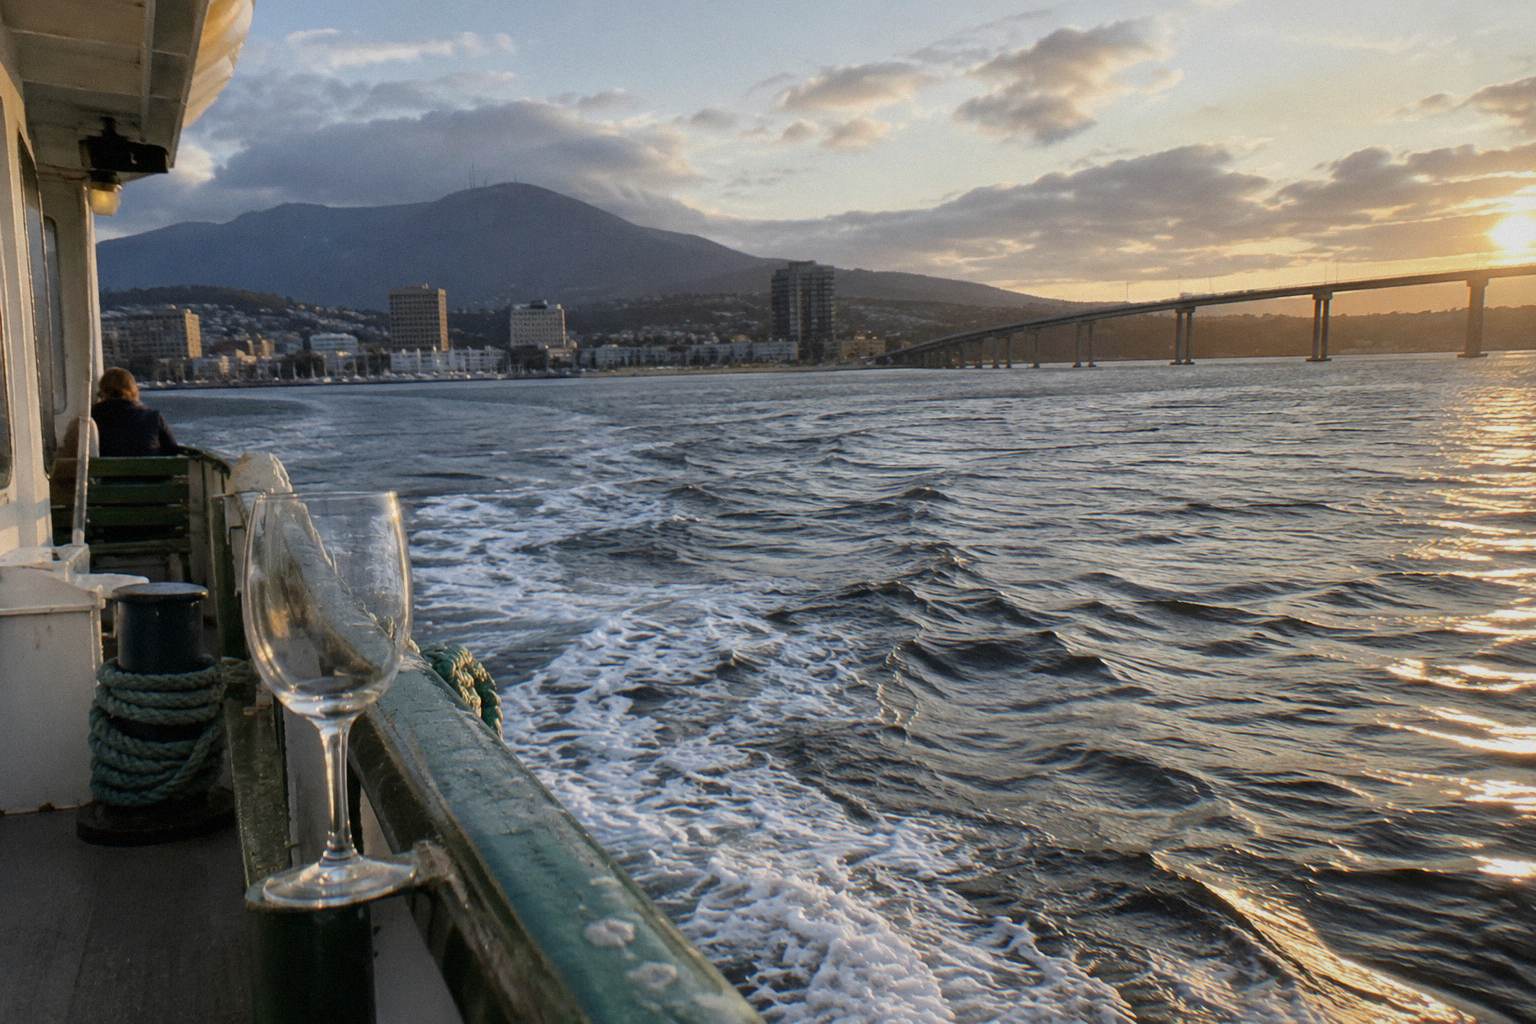
For anyone who enjoys the crossing and wants more of the same water, the natural next step is a Derwent cruise. The River Derwent Guided Cruise On A Catamaran boards at the very same Brooke Street Pier, runs about 1.5 to 2 hours depending on which operator page you read, and its booking page lists the Shot Tower, Alum Cliffs and the Iron Pot Lighthouse on its route. That is a different proposition from the museum ferry: commentary, a longer stretch of river, and a boat designed for sightseeing rather than transit. The same operator, Peppermint Bay Cruises at peppermintbay.com.au, also runs the lunch cruise down the channel to Woodbridge.
The distinction is worth stating once, plainly, because search results blur it. The MONA ferry is a museum ferry: it exists to move you between Brooke Street Pier and the museum, quickly, with a bit of style available at the Posh Pit. The Derwent cruises are cruises: they exist to show you the river. If your question is purely how to reach MONA, the ferry answers it. If your question is how to spend time on the water from Hobart, the cruise roster answers that one instead.
Accessibility, Kids And The 99 Steps
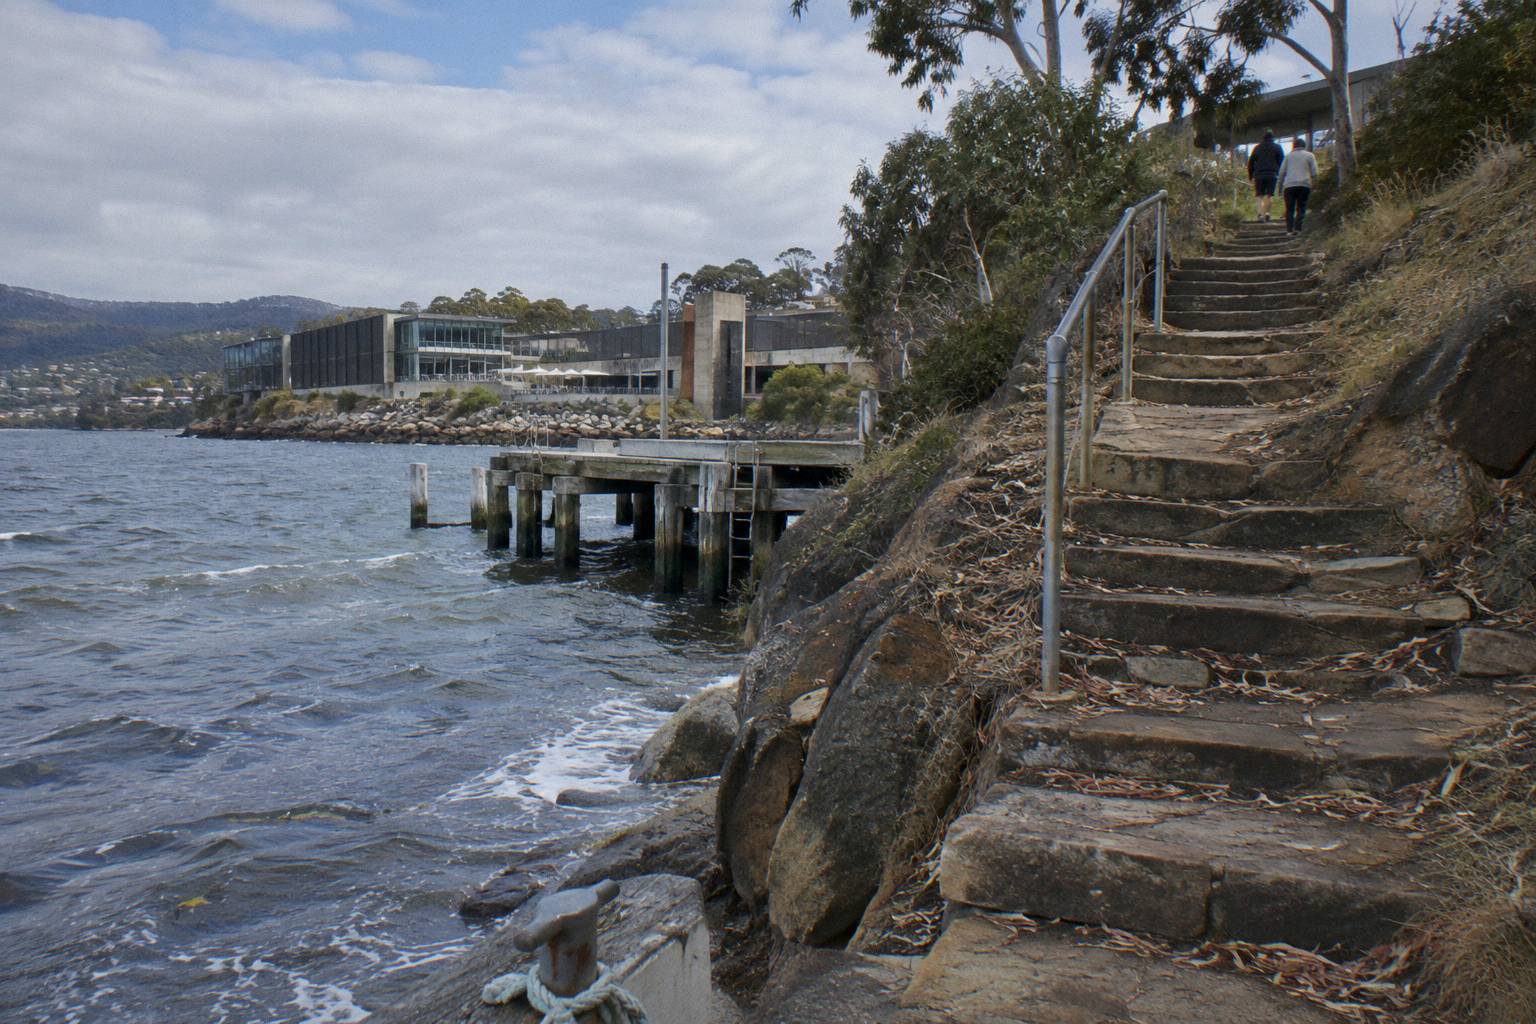
The ferry's lower deck is accessible for mobility aids and prams, with a bar and an accessible toilet on that level. Arrival at MONA involves 99 steps, and there is an accessible entrance via a tunnel, which you arrange by telling onboard staff. The Posh Pit cannot cater for coeliac or severe allergies, and children under 4 travel free but need a ticket.
The 99 steps are the single most important accessibility fact in this whole comparison, and the museum states it without embarrassment. You arrive by water at the base of the peninsula and climb. The tunnel entrance is the alternative, and the arrangement is a human one: tell the ferry's onboard staff you need it, and they handle the arrival accordingly. Families with prams should weigh the same fact; the lower deck takes the pram, but the far end of the trip is a stair climb or a tunnel.
This is where driving genuinely competes for some visitors. A car parked at Argyle Street delivers you to the museum's main entrance with no jetty arrival at all, and the accessible street parking along Franklin Wharf, Salamanca Place and Castray Esplanade serves permit holders on the approach. Neither path is universally better; it depends entirely on whether 99 steps or a 10 to 15 minute walk is the harder ask for your party.
For context from the cruise side of the waterfront, accessibility varies boat by boat and the verified facts only cover two of them. The catamaran used for the River Derwent Guided Cruise is described on its booking page as wheelchair friendly on the main deck, with children, prams and service animals welcome and two indoor levels of floor-to-ceiling windows. That is a booking-page claim about one boat, not a general standard for every cruise. Pennicott's Iron Pot cruise is not listed among that operator's named wheelchair-accessible vessels; the operator publishes an accessibility guide for the product and takes questions by phone on (03) 6234 4270. For the Historic, seafood and yacht cruises, wheelchair and pram facts are not stated; ask the operator.
Kids are straightforward on the ferry itself: under 4s are free with a ticket, and everyone else pays the standard fare with no concessions. On the cruise side, the Iron Pot cruise welcomes children of all ages on a child fare covering ages 1 to 16, and the operator's one piece of family advice is to dress children warmly, as it does get cold out on the water. That advice transfers to the ferry crossing sensibly: the Derwent is open water at its widest, and the middle of the river is no place for a light shirt on a summer afternoon that has turned.
Which Months Suit Each Option
Hobart's land-station averages show summer mean maximums of 21.8 degrees in January and February against winter maximums of 11.9 in July, with mean rain days of 1 mm or more ranging from 4.9 in February to 9.4 in October. These are city figures from a station recording since 1882, and they say nothing about conditions on the water itself.
The seasonal logic is simple once you accept that the weather figures are land-based. In the warmer months, the ferry crossing is a pleasure in its own right, and the 30 minutes on deck feels like a bonus rather than a commute. From December through April, you also get the option of the morning sailing window that summer visitors plan around, alongside the full range of Derwent cruises. In the cooler months, the ferry is still the same 30 minutes, but the deck holds less appeal and the enclosed lower deck with its bar earns its keep.
| Month | Mean maximum (C) | Mean minimum (C) | Mean rain days of 1 mm or more |
|---|---|---|---|
| January | 21.8 | 12.1 | 5.6 |
| April | 17.5 | 9.0 | 6.8 |
| July | 11.9 | 4.7 | 7.8 |
| October | 17.1 | 7.9 | 9.4 |
October is the wettest of the sample months by rain days, 9.4 on average, which nudges toward the car if your museum day is fixed in spring and your ferry enthusiasm is weather-dependent. February is the driest by the same measure at 4.9 rain days, with the joint-warmest maximums. None of this is a prediction: these are long-run averages from the Bureau of Meteorology's Hobart station, useful for expectations rather than forecasts, and the museum does not state a weather-cancellation policy for the ferry.
The one crossover fact worth carrying between seasons: a different ferry timetable applies from 3 December. A late-November trip and an early-December trip are not the same sailing schedule, so if you are planning across that boundary, check the live timetable rather than assuming continuity.
Pairing MONA With A Proper Derwent Cruise
If the 30 minute ferry crossing whets your appetite, the Derwent cruises from the same waterfront run from about 1 hour to about 7.5 hours, departing from piers within the same cove. The Morning River Cruise runs about 1 hour from Murray Street Pier, the catamaran guided cruise about 1.5 to 2 hours from Brooke Street Pier, and the seafood and lunch cruises run 4.5 to 7.5 hours.
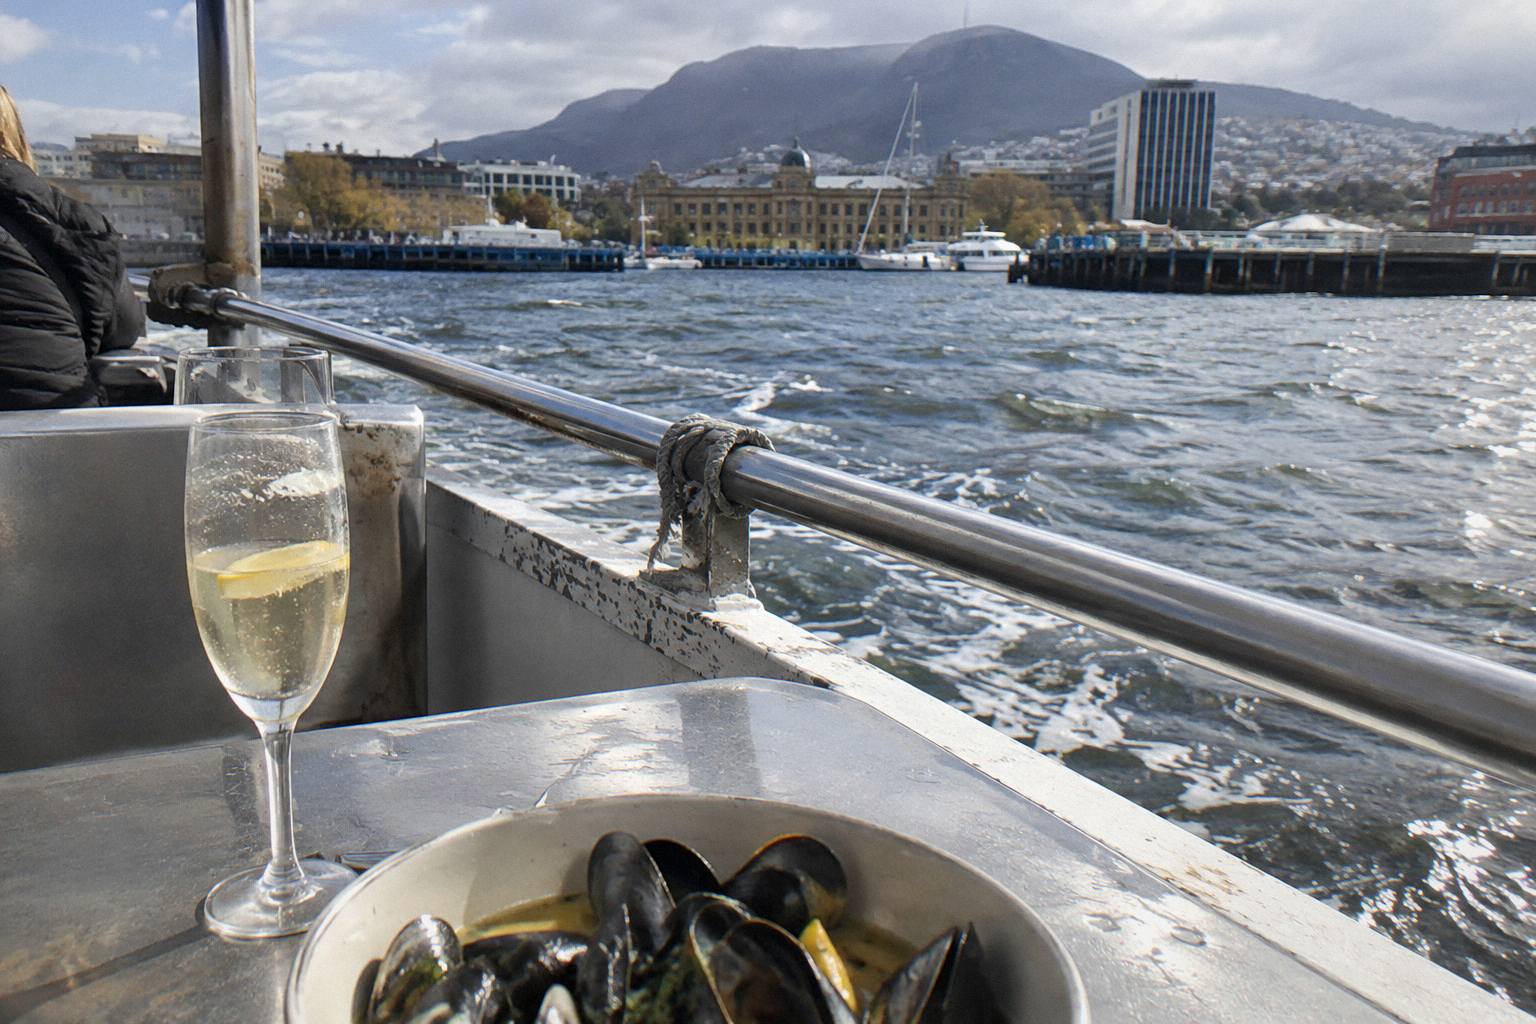
The Morning River Cruise is the easiest pairing of the lot: about an hour on the water from Murray Street Pier, with refreshments available to buy on board. It is short enough to sit either side of a museum visit, a morning on the river and an afternoon at MONA, or the reverse on days when the ferry timetable cooperates. Its price is not stated; check the booking page. Start times are likewise not stated for it, so check availability before locking a same-day plan.
For a bigger commitment, the seafood boats turn the whole day into a water day. The Ultimate Seafood Cruise On A Spacious Catamaran runs about 4.5 hours from Elizabeth Street Pier, crewed, as its booking page says, by commercial fishermen and women who own and operate the cruise, with a degustation of abalone, rock lobster, oysters, mussels, sea urchin, periwinkles and Tasmanian Atlantic salmon. The Full-Day Gourmet Seafood Cruise runs about 7.5 hours from Constitution Dock with rock lobster, salmon, freshly shucked oysters and local drinks on board; it carries a 5.0 rating across 20 reviews.
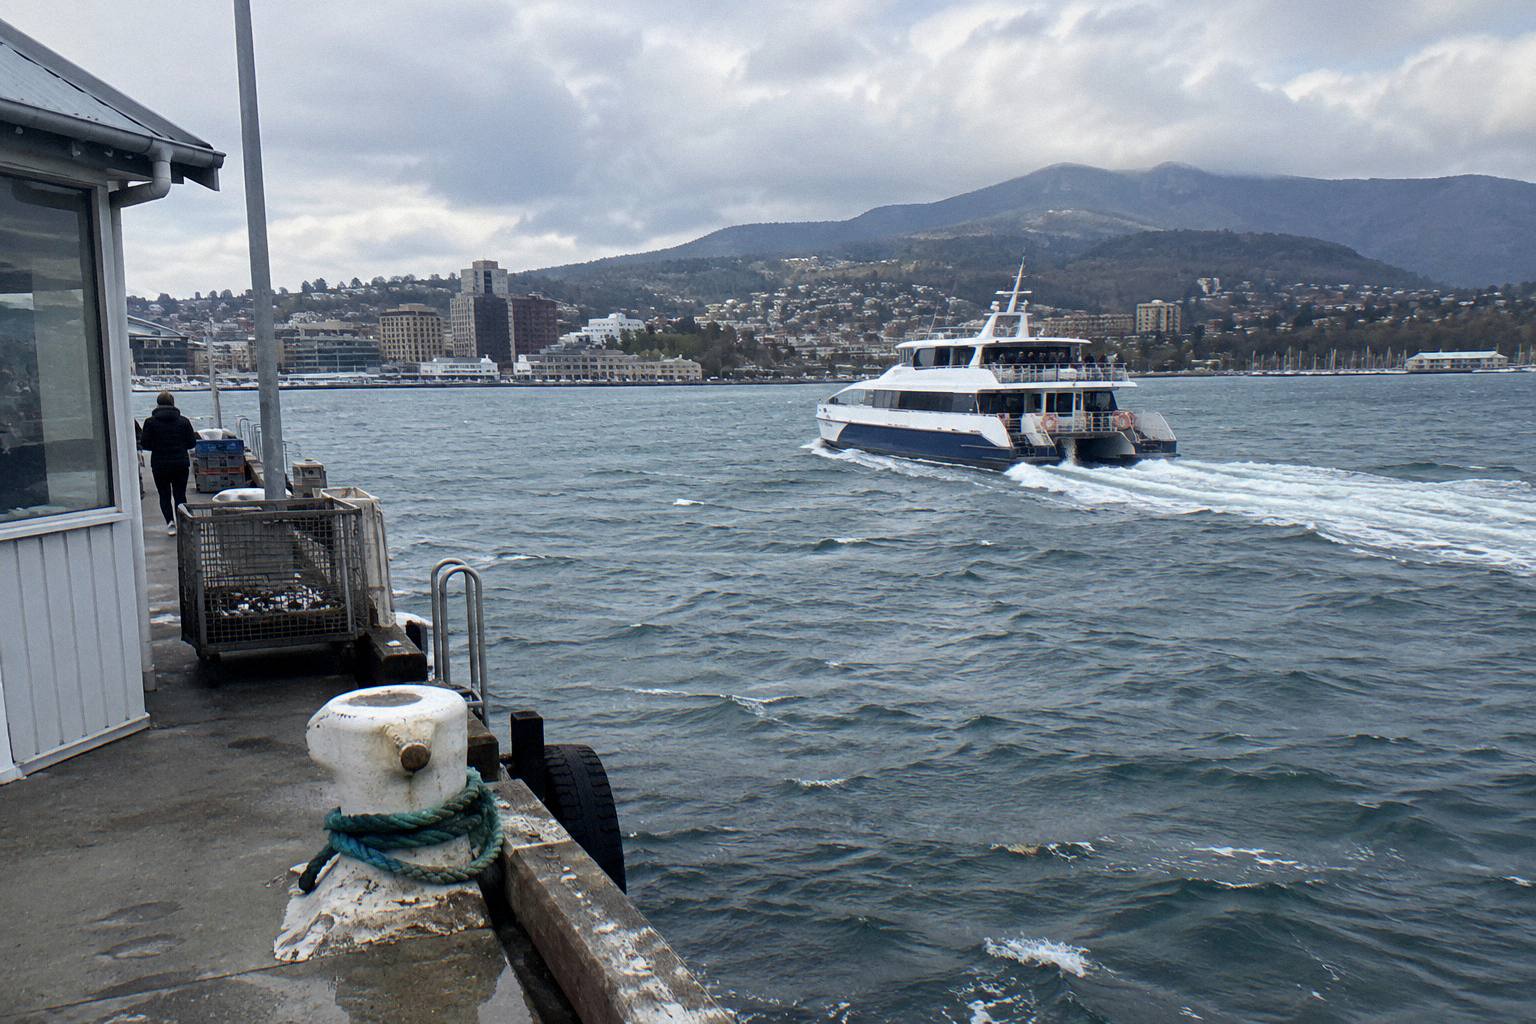
The Peppermint Bay Lunch Cruise splits the difference at about 5.5 hours from Brooke Street Pier, cruising down the Derwent and the channel to Woodbridge for lunch at the Peppermint Bay restaurant. Since it boards at the same pier as the MONA ferry, it is the one long cruise where the logistics genuinely stack with a museum itinerary across two days. The operator's own separate Sunday Cruise And Lunch product, a 10:30am departure on select Sundays with lunch at the same restaurant, is priced at A$195 adult and A$125 child, but that figure belongs to the Sunday product, not to this cruise, whose price is not stated.
If you want the deeper background on any of this before deciding, the site's overview of the MONA ferry covers the boat itself, and the guide to departures from Brooke Street Pier untangles which cruise boards where. For weighing every boat option in one place, the comparison of Hobart's boat tours sets the ferry's 30 minutes against cruises of every length.
Common Questions About Ferry Or Driving To MONA
Is The MONA Ferry Or Driving Cheaper?
The ferry costs from A$32, with the return fare the same as one way and a A$3.50 transaction fee on most advance bookings. Car-park prices for MONA's listed multi-storey car parks are not stated anywhere in the operator's material, so a direct cost comparison cannot be made honestly; budget for parking separately and check the car park's own rates.
How Long Does The Ferry To MONA Take?
About 30 minutes each way, departing Brooke Street Pier. Departure times are loaded dynamically on the museum's own site, and a different timetable applies from 3 December, so check the live timetable for the sailing that fits your day.
Where Does The MONA Ferry Leave From?
Brooke Street Pier, 12 Franklin Wharf, on Sullivans Cove, with drop-off in front of the pier. The same pier is the departure point for the River Derwent Guided Cruise On A Catamaran and the Peppermint Bay Lunch Cruise.
Is The MONA Ferry Accessible For Wheelchairs And Prams?
The lower deck is accessible for mobility aids and prams, with a bar and an accessible toilet on that level. Arrival at MONA involves 99 steps, with an accessible entrance via a tunnel that you arrange by telling onboard staff. Drivers with mobility permits can use the accessible parking listed along Franklin Wharf, Salamanca Place and Castray Esplanade.
Do Children Pay For The MONA Ferry?
Children under 4 travel free but still need a ticket added to the booking. Everyone else pays the standard fare, and the operator states there are no concessions.
Can You Do A MONA Trip And A River Cruise On The Same Day?
Yes, and the piers make it easy. The Morning River Cruise runs about 1 hour from Murray Street Pier, short enough to pair with a museum visit, and the catamaran guided cruise boards at the same Brooke Street Pier as the ferry. Check start times on the booking pages before committing to a same-day plan.